














How to Package Jewelry for Shipping Without Tangles or Scratches
Updated · Vorex Packaging
To package jewelry for shipping, use three layers: an insert that holds the piece still (a slot for rings, a card with a clasp notch for necklaces, an earring card with backs on), a presentation box sized to that insert, and an outer padded mailer or small mailer box with tissue so the box cannot rattle. Bag silver pieces with an anti-tarnish strip and add tracking and a signature for valuable orders.
The short answer
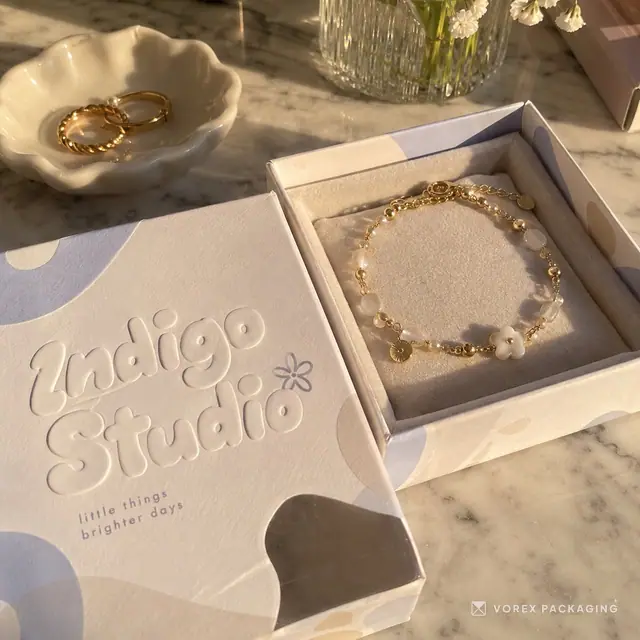
Jewelry is small, light and easy to scratch, so the risk in shipping is not crushing but movement: a ring that slides out of its slot, a chain that knots, an earring back that falls off and gets lost in the filler. Good jewelry packaging works in three layers. The piece is held still in an insert, the insert sits in a presentation box such as a custom jewelry box, and that box travels inside an outer mailer with a little padding so it cannot rattle.
Layer 1: hold each piece still
Start with the piece, not the box. The insert does the protecting; the box mostly does the presenting.
- Rings: a slotted foam or card insert grips the band so the stone faces up and stays centred. Ring boxes are built around that slot.
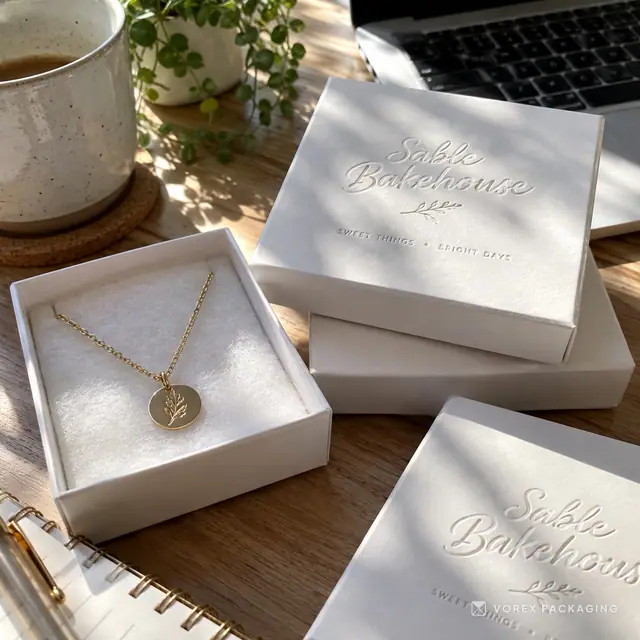
- Necklaces and pendants: lay the chain flat on a card or pad, fix the clasp in a notch or hook and let the pendant sit in the centre. Fasten the clasp before packing so the chain cannot slide off the card. Necklace boxes use exactly this kind of insert.
- Earrings: push studs through an earring card and put the backs on behind it; hooks hang through two holes. A loose back is the most common thing customers report missing. Earring boxes are sized to the card.
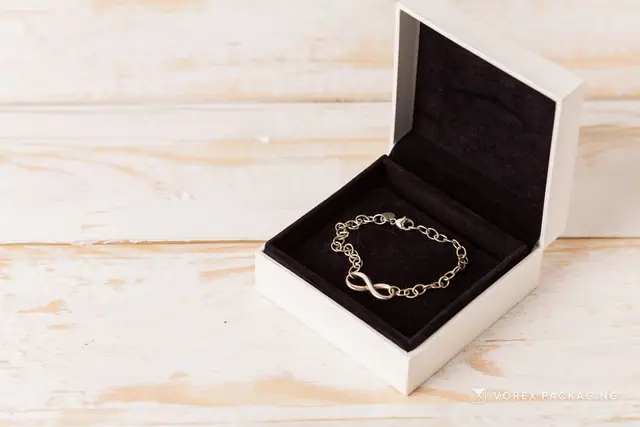
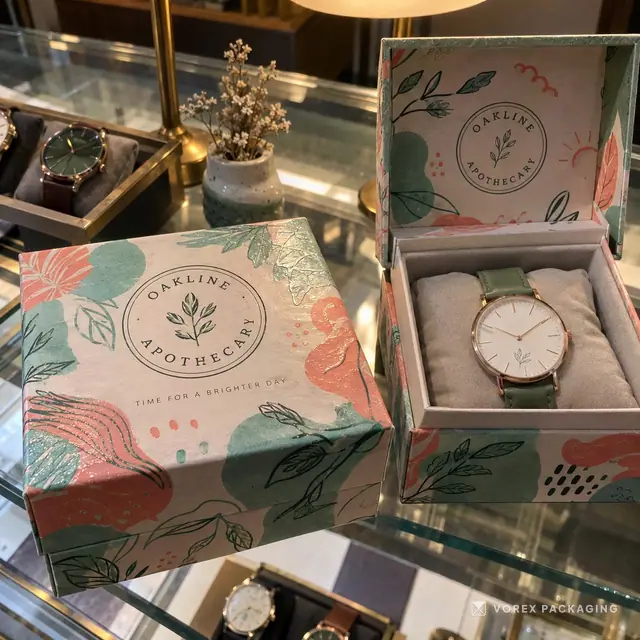
- Bracelets and watches: a pillow or a raised pad keeps a bracelet or watch strap in its worn shape; see bracelet boxes and watch boxes.
Silver and plated pieces tarnish faster in damp air, so many makers add a small anti-tarnish strip or slip each piece into a sealed bag before it goes on the insert. Polish and dry the piece first; packing a damp piece seals the moisture in.
Our guide to custom box inserts explains how to measure for slots and cut-outs, including the rule that matters most here: measure the widest point of the piece.
Layer 2: choose the presentation box
The box is what the customer sees first, so it carries your logo and sets the price expectation. The common styles for jewelry are:
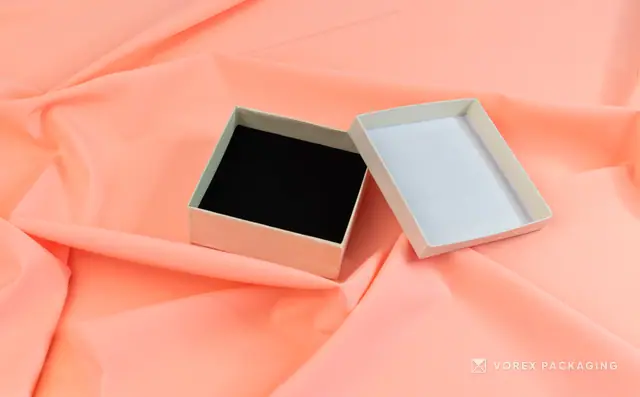
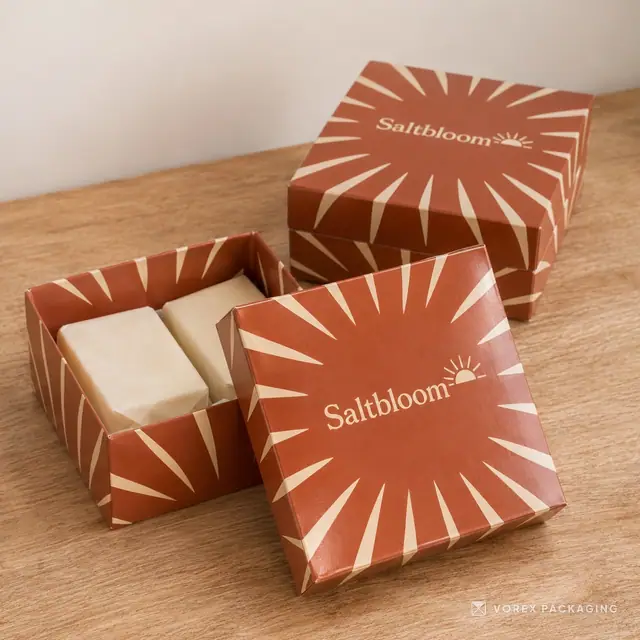
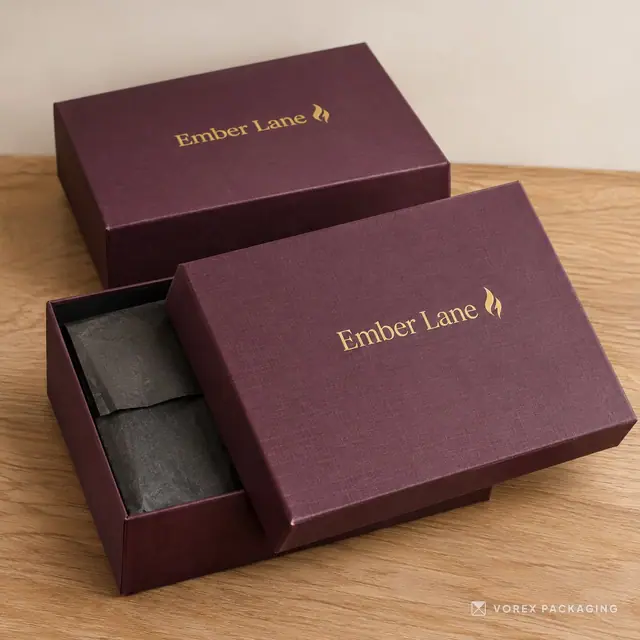
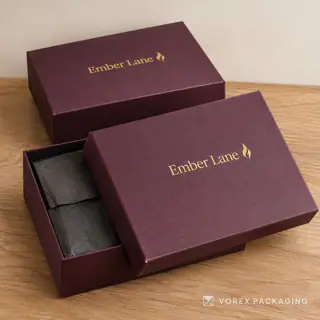
- Two-piece (lid and base): the classic jewelry box. A two-piece box lifts open, shows the insert straight away and works in paperboard for everyday pieces or rigid board for fine jewelry.
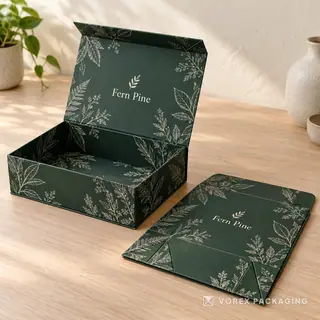
- Magnetic or hinged rigid boxes: heavier and firmer, for engagement rings and fine pieces. See rigid boxes.
- Kraft and paperboard boxes: lighter and lower cost for fashion jewelry and markets. Kraft jewelry boxes give a natural look; cardboard jewelry boxes take full-colour print.
Size the box to the insert, not the other way round: insert first, then a box whose inside is the insert size plus a hair of clearance so the lid closes without pressing on the piece. If you want to see a flat layout before you order, the free two-piece box dieline template draws one to your size as SVG or PDF.
A ready-made option: our 3.5 x 3.5 x 1.5 in two-piece jewelry box pack (18pt paperboard, full colour outside) fits many rings, earrings and folded chains on a card. Other sizes and rigid styles are made to order from 1 piece.
Layer 3: the outer mailer
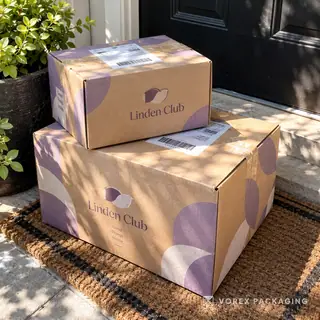
A presentation box is not a shipping box. Its corners dent and its print scuffs if it goes through the post on its own, so it travels inside something else.
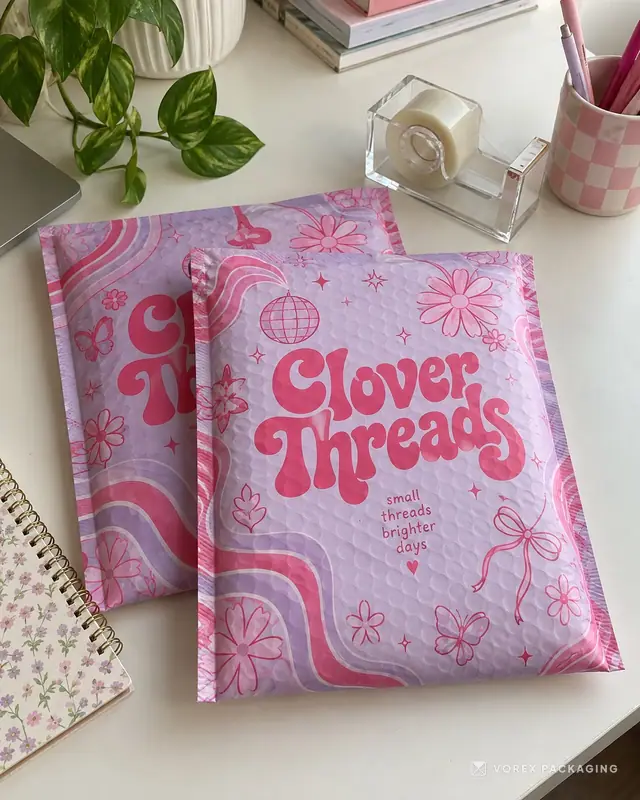
- Padded or bubble mailers suit one or two small jewelry boxes. A bubble mailer adds cushioning without much weight.
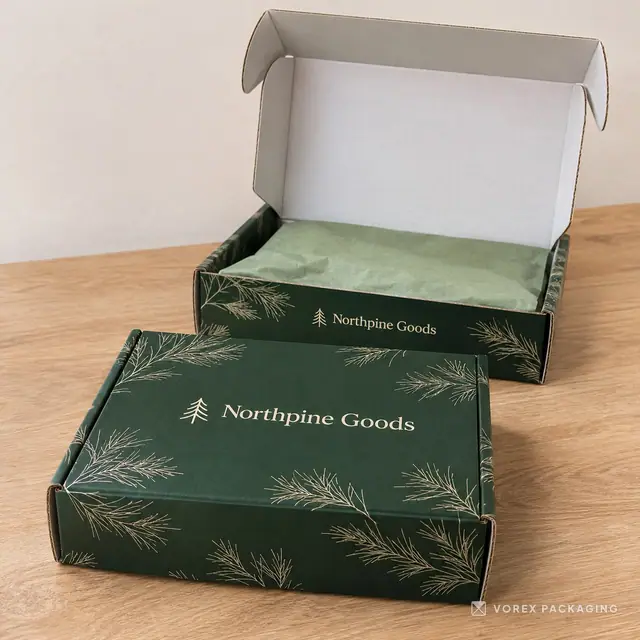
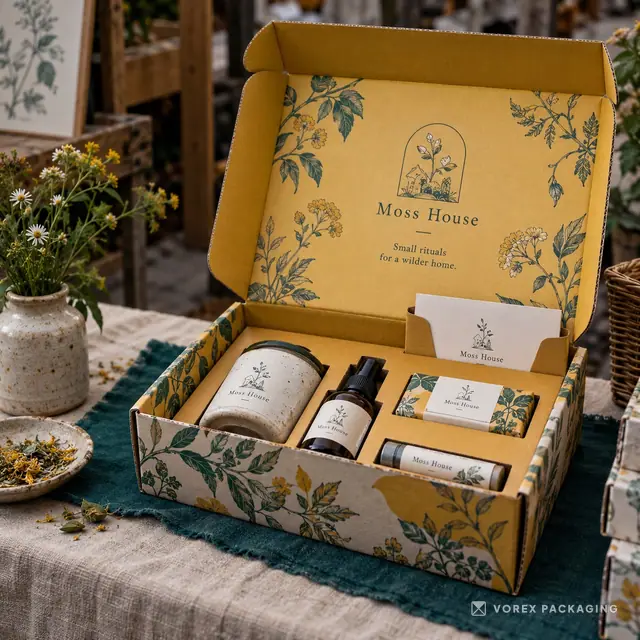
- Small corrugated mailer boxes suit gift sets, several boxes, or fine jewelry where you want a rigid outer shell. A mailer box can also carry your brand on the outside and a message inside the lid.
- Poly mailers are light and water resistant but give no crush protection; use one only when the jewelry box itself is rigid. See poly mailers.
Whichever you use, the jewelry box should not slide. Shake the packed mailer: if you hear it move, add tissue or crinkle paper until it stops. Wrapping the jewelry box in branded tissue paper does that job and adds to the unboxing.
Step-by-step: packing one order
- Clean, dry and check the piece; fasten clasps and put earring backs on.
- Bag it with an anti-tarnish strip if it is silver or plated.
- Seat it in the insert so it cannot move when you tip the box upside down.
- Close the presentation box. Add a care card or thank-you card on top of the insert.
- Wrap the box in tissue and seal it with a sticker.
- Put it in the mailer with enough filler that nothing rattles; seal the mailer.
- Label it plainly. For valuable pieces, many sellers keep "jewelry" off the outside of the parcel.
Shipping valuable pieces
For fine jewelry, the carrier service matters as much as the box. USPS, UPS and FedEx all sell tracking, signature confirmation and extra coverage; read each carrier's rules on declared value and on what they will cover for jewelry before you rely on it, because the limits and exclusions differ by service. A rigid outer mailer box, a plain label and a signature on delivery are the usual combination for high-value orders. If you ship gifts in November and December, check the holiday send-by dates in our holiday shipping guide.
Common mistakes
- Box first, insert later. A box bought before the insert is planned rarely holds the piece still.
- Shipping the presentation box naked. Dented corners make a fine piece look second-hand.
- Too much empty space. A small box rattling inside a large mailer arrives scuffed, and larger parcels can cost more to ship.
- Loose earring backs and open clasps. Both are easy to fix at the packing table and hard to fix after a complaint.
Custom boxes or stock boxes?
Plain stock boxes are fine while you test a product. Once you sell regularly, a box with your logo, an insert cut to your pieces and a matching mailer makes every order look like the same brand, which is what buyers remember. Browse jewelry and watch packaging for every style, or send your piece sizes for a quote and a digital proof.
Box sizes in this guide
Each size has its own page with the box styles and products at that size, a dieline and a quote form with the size filled in.